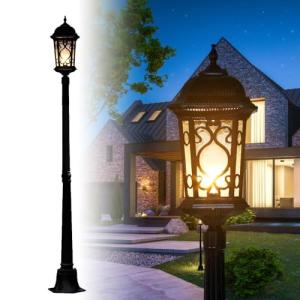
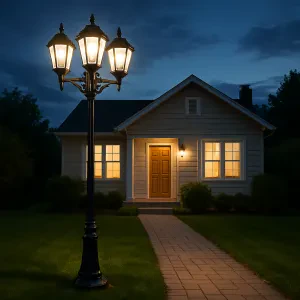
Picking the right spot for your lamp post is super important for a successful lamp post installation. You want it not only to look good, but also to provide ample light where you need it most. First things first, think about the areas of your yard or driveway that are often dark. That's where your new lamp post can shine the most!
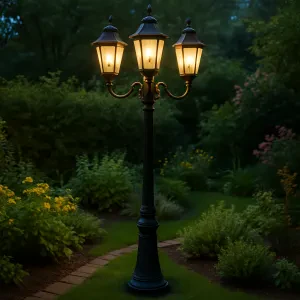
Next, consider the height of the lamp post. If you’ve got tall trees or buildings nearby, placing it too close might block the light. Aim for a spot where the glow can spread wide and far. Generally, placing the lamp post about 10 to 15 feet away from any obstacles gives it room to do its job without interference.
Don’t forget to check your local regulations and neighborhood guidelines. Some places have rules about where you can put lamp posts. Avoid any surprises by making sure your chosen spot is compliant. You don’t want to go through the hassle of lamp post installation only to find out it’s not allowed!
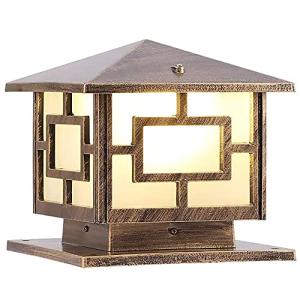
Finally, think about how the lamp post fits into your overall landscape. It should complement your home and garden design. If you've got a cozy, rustic vibe, look for traditional styles. For a modern touch, go with sleek and contemporary designs. Finding the right balance between function and style makes your lamp post installation a win-win.
Gathering Your Installation Tools
Getting ready for lamp post installation? You’ll want to gather a few tools first. It makes the whole process smoother and less stressful. Here’s a quick list of what you’ll likely need:
Once you’ve got everything together, you’ll be ready to tackle your lamp post installation with confidence. It’s all about having the right gear on hand, so take a minute to make sure you have it all before you start digging!
Remember, the better prepared you are, the easier the installation will go. No one likes to run back and forth hunting for tools. Keep everything nearby, and soon enough, you’ll have that new lamp post lighting up your space!
Preparing the Ground for Installation
Getting ready for lamp post installation is super important. You want to make sure everything goes smoothly and your new lamp post stands tall and proud. First, you need to pick the right spot. Look for an area that gets plenty of light and complements your yard. Avoid placing it too close to trees or other obstacles that could block the light.
Next, you'll want to check your local codes and regulations. Some places have specific guidelines for lamp post installation. Make sure to know what's allowed and if you need any permits before you start. This way, you won’t run into any surprises down the line.
Once you've got your location sorted and the paperwork in order, you'll need to gather your tools and materials. You’ll typically need a shovel, concrete mix, and a level. Having everything ready makes the actual installation much quicker and easier. It’s all about being prepared so you can enjoy your stylish new lamp post without the fuss.
Lastly, mark the spot where your lamp post will go. A simple stake or spray paint can help you visualize the area. This will make it easier to dig the hole and keep everything aligned for a straight and attractive installation. With the groundwork laid out, you're one step closer to lighting up your space!
Installing Your Lamp Post with Confidence
Installing your lamp post doesn’t have to be a stressful task. With the right tools and a little bit of planning, you can get it up and shining in no time. First, gather everything you need: your lamp post, a shovel, concrete mix, a level, and a wrench. Simple stuff, right? Having everything ready will make the process smoother.
Start by choosing the perfect spot. You want a place that’s visible and accessible, but not in the way of your daily activities. Take a moment to mark the spot where you want your lamp post. Dig a hole about two feet deep and wider than the base of the lamp post. This ensures it has enough support, which is super important for stability.
Once your hole is ready, it’s time to mix the concrete. Follow the instructions on the package, then pour the mix into the hole, leaving space for your lamp post. Drop the lamp post into the wet concrete and use a level to make sure it’s straight. This step is key for a good-looking and functional lamp post installation. Let it set for at least 24 hours before you move on.
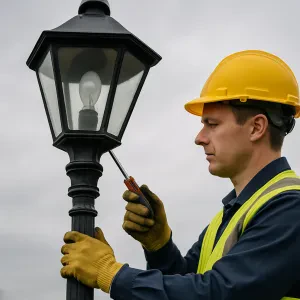
If your lamp post requires wiring, now’s the time to connect it. Make sure to turn off the power before working with any electrical components. Follow the manufacturer’s instructions closely for wiring. Once everything is connected, turn the power back on and test your new lamp post. It should light up beautifully, adding charm to your space!